.webp)


Table of contents:
Key takeaways:
- Multitrack recording records each participant or input on a separate track, allowing for easier, higher quality editing and better results.
- If you want to record a podcast in multiple tracks, you can do it using multitrack recording software, by recording a double-ender, or by using an audio interface or a digital multitrack recorder.
- Riverside is multitrack podcast recording software that you can use to easily record and edit a high-quality podcast.
What is multitrack recording?
Want to save time editing, get higher quality audio, and mix and master your podcast like a pro? You need multitrack recording.
In multitrack podcast recording, each participant (and any other audio or video source) is recorded on a separate track, rather than combining them all into one. This allows you edit and adjust each track separately, for the highest quality results.
Plus, with the right tools, multitrack recording (and editing) is a snap. Want to learn more about it - and how to record your podcast in multiple tracks? Let’s take a look.
How to make a multitrack podcast recording remotely
Looking to record remote guests in multiple tracks? Here, your options are to use multitrack recording software, or make a double ender recording. We’ll show you how to do both.
Multitrack recording with an online platform (the easy way)
Difficulty: Easy
Best for: Podcast beginners
Multitrack recording is simple with an online platform that supports it like Riverside. Just create an account, invite your guests to the virtual studio, and start recording. Riverside will automatically record each participant’s audio and video on separate tracks, handling all the tricky technical details behind the scenes.
Plus, you’ll get all the following features—which will make your recording sound and look even more polished:
- Local recording: Record every participant locally on their devices, ensuring the highest quality sound even with slow WiFi connection.
- Auto backup and cloud sync: Recording files are auto-saved and uploaded progressively to the cloud. This protects you from losing your work.
- Integrated transcription support: Riverside will automatically generate an up to 99% accurate transcript, which you can use to improve content accessibility, make captions, and even edit your work with text-based editing.
- Studio-quality recording: Record in up to 4K video and uncompressed 48 kHz audio quality.
- User interface: Riverside’s interface is simple and easy-to-use, and you can invite up to 9 guests by simply sharing a link or email.
Ready to capture a multitrack recording with Riverside—fast and easy? Here’s how it works:
How to capture a multitrack podcast recording with Riverside
Step 1: Sign up or log in to your Riverside account.
Step 2: On the “Home” screen select “Record.”

Step 3: Choose your camera, mic, and headphones settings, then hit “Join Studio.”

Step 4: Invite up to 9 people to join the studio by sharing the link or selecting “Invite by email.”

Step 5: Personalize your recording studio and what is captured on video by adding your logo, custom backgrounds, layouts, and other branding elements.

Step 6: Check that each participant's individual settings are correct and then hit “Record.”
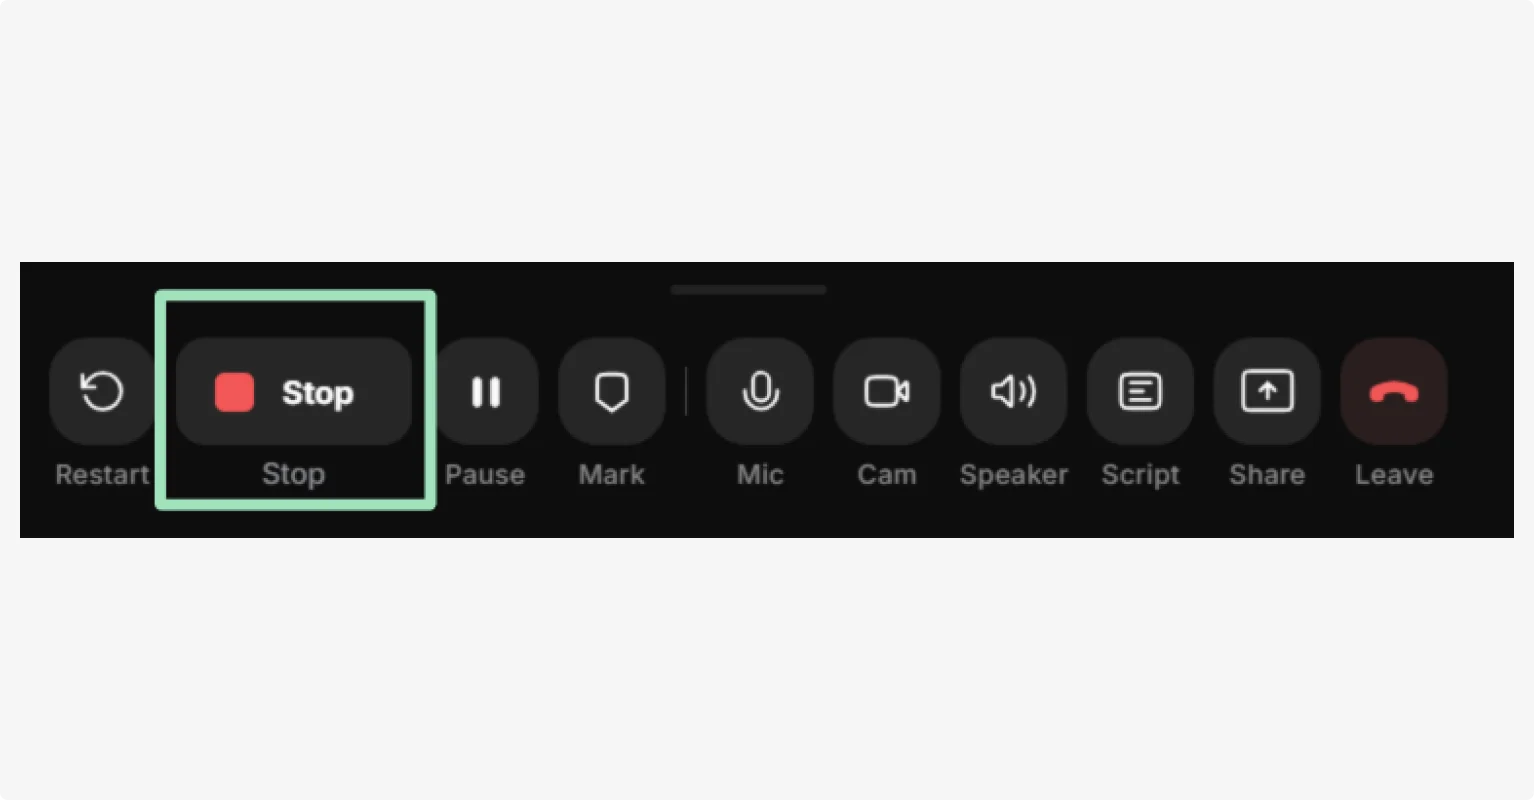
Step 7: To finish recording hit “Stop.”
Step 8: When your tracks have fully uploaded, go to your dashboard, select the relevant Project then open your recording. Click “Files” to access your separate audio and video tracks.

Step 9: Here you can view and download each speaker’s separate track for post-production. You can also edit these tracks directly in Riverside, download the transcript, or generate show notes.

And that’s it! Easy right? Using multitrack podcast recording software has other benefits too. Here are some of the key pros and cons.
Pros:
- Records each participant’s audio locally at high quality. (Traditional tools like Zoom record over the internet.)
- Automatic speaker differentiation. Each speaker gets their own audio track automatically, with no deed to route inputs.
- Simplified setup. Works with basic USB mics and laptops, no complicated hardware required.
- Built in transcription and text-based editing. Use your automatic transcript to quickly edit your audio and video.
- Designed for podcasting. Easily invite guests, create show notes with a click, live stream, and more.
Cons:
- Less control over audio routing and processing.
- More complicated for in-person recording.
Double-ender recording
Difficulty: Hard
Best for: Experienced podcasters
Double-ender recording is a technique where each podcast participant records their own audio or video locally on their own device. Usually, this is done to avoid using video-conference software that relies on internet recording like Zoom or Teams. This ensures studio-quality sound from each person, even if the internet connection is poor. In post-production, the separate recordings are manually synced and combined for the final episode.
What do you need?
- Good-quality microphone. Avoid built-in laptop mics; use a USB or XLR mic for cleaner sound.
- Headphones. Good for preventing audio bleed or echo during recording.
- Recording software. Each participant needs software such as Audacity or Garageband to record their own track.
- Video conferencing software. Use Zoom, Google Meet or Teams to facilitate the conversation.
- Quiet environment. Choose a quiet space with minimal background noise and no echo.
How to record separate podcast tracks remotely with double-ender recording
Step 1: Start a video call using your preferred platform (Zoom, Google Meet, etc.)
Step 2: Everyone joins the call and confirms their setup is working (mic, headphones, recording software).
Step 3: Each person hits “Record” on their own editing software to record themselves locally. Use a loud sound, like a clap, to mark the start of the conversation for easier syncing during post-production.
Step 4: At the end, each person stops their own recording, then saves and sends their audio file to the editor or host.
Step 5: The tracks are manually synced and combined in post-production.
Pros:
- Professional sound without a studio.
Cons:
- Technical knowledge needed making it more complex for podcast beginners.
- More setup is required as each person must record locally on their device.
- More time consuming as the separate tracks must be manually synced after recording.
- All participants need to send their tracks to the editor, which can be difficult with large files.
- High margin for error.
How to make a multitrack podcast recording in person
Want to record guests in person rather than remotely? In this case, you’ll likely want to use an audio interface or a digital multitrack recorder. Let’s take a look at both options.

Audio interfaces
Difficulty: Medium
Best for: Recording in a studio
If you’re recording in person, you can use an audio interface like the RØDECaster Pro or Focusrite Scarlett 18i8 to connect multiple microphones to your recording software. This setup gives you clear, isolated audio for each speaker - ideal for professional post-production.
What do you need?
- Audio interface with multiple microphone inputs.
- XLR cables. One per mic.
- High-quality microphones. One per speaker.
- Headphones. Important to monitor what is being recorded. How many headphone inputs depends on the interface.
- Recording software. You’ll need a digital audio workstation (DAW) such as Audacity, GarageBand or Adobe Audition.
How to record a multitrack podcast using an audio interface
Step 1: Set up your chosen audio interface and place it near your recording space
Step 2: Connect to a separate input using XLR cables.
Step 3: Plug in headphones to monitor levels. Each speaker can use their own, if the interface allows.
Step 4: Install any drivers or control software required for your interface model.
Step 5: Launch your recording software and set the audio interface as both the input and output device.
Step 6: Configure multitrack recording by assigning each mic input to a separate track in your recording software.
Step 7: Do a quick sound check then hit “Record.”
Step 8: After recording, save and export each speaker’s audio track for editing.
Pros:
- Each separate track will be recorded in high quality.
- Easy to monitor output in real-time.
- Record directly into your chosen editing software for easy editing.
Cons:
- Audio interfaces can be quite pricey, costing upwards of $500.
- Steep learning curve for podcast beginners.
- Audio-only, no option to record video.
- Requires additional software to be downloaded.
- Some interfaces only have one headphone jack, putting the onus for monitoring on one person.
Digital multitrack recorders
Difficulty: Medium
Best for: Recording on-location
If you want to record multiple microphones to separate tracks without a laptop or desktop, using a digital multitrack recorder is an excellent choice. These devices are ideal for in-person interviews on the go, offering high-quality, isolated audio in a compact, portable setup. Popular models include the Zoom H6, Zoom H8, and Tascam DR-05.
What do you need?
- Digital multitrack recorder with multiple XLR inputs, or use lavalier mics for mobile setups.
- XLR cables. One per microphone – not needed for lavalier mics with built-in connectors.
- Microphones. Can choose dynamic, condenser, or lavalier depending on setup.
- Headphones for live monitoring.
- SD card for storing your recordings.
- SD card reader or built-in transfer method to move files to your computer.
- Backup batteries or a rechargeable battery pack.
- Optional equipment. Mic stands, windscreens, and carry cases can be useful for field setups.
How to record a multitrack podcast using a digital recorder
Step 1: Turn on and set up the recorder. Double-check your recorder’s battery or power supply is ready and sufficient for the entire recording.
Step 2: Insert a formatted SD card into the recorder.
Step 3: Connect your microphones to the appropriate XLR inputs.
Step 4: Plug in your headphones and check monitoring levels.
Step 5: Assign each mic to a separate track in the recorder’s settings.
Step 6: Test your levels, then press “Record” to begin the session.
Step 6: When finished, press “Stop” and save your recording.
Step 8: Transfer files to your editing software via SD card reader or USB cable for post-production.
Pros:
- Fully portable, no laptop required.
- Records each mic on a separate track for a high-quality, professional recording.
- Easy to monitor output in real-time.
Cons:
- Steep learning curve for podcast beginners.
- Audio-only, no option to record video.
- Some interfaces only have one headphone jack, putting the onus on one person to monitor.
- Power backup needed as batteries can run out during long or multiple recording sessions.
How to edit your multitrack podcast recording
Once your recording’s complete, it’s time to edit! Follow these tips to edit your multitrack podcast recording to a professional standard:
- Clean up each track: Remove background noise and any other unwanted sounds, such as mouth clicks or breaths on each track individually. With Riverside, you can do this with a click.
- Manually sync tracks: Make sure all separate tracks are aligned, and there’s no crossovers or long pauses. Riverside syncs separate tracks automatically, saving you time and unnecessary headaches.
- Ensure volume levels match: Make sure the volume across all tracks is consistent so your listeners won’t have to adjust their volume throughout the episode. You can do this manually, or let Riverside’s Magic Audio do it for you.
- Keep the conversation flowing: Remove filler words, long pauses, overlapping speech or awkward interruptions to make sure the episode and conversation flows. Riverside does this too - with one click.
- Apply custom processing: Use noise reduction, compression, equalization, and other techniques to enhance the audio clarity for each individual speaker.
- Experiment with video layout: Experiment with the layout of your video to make conversations and episodes more engaging. Riverside allows you to customize your layout throughout your video.
- Enhance episodes with sound effects and music: Add intros, outros, sound effects, overlays, and background music to make episodes more engaging for the listener.
Why should you record your podcast on separate tracks?
Let’s have a quick look at the benefits of multitrack podcast recording:
- Better sound control: One of your guests is in a noisy cafe? Need to clean up crosstalk? You can fix one track without affecting the rest of the conversation.
- Dynamic video layouts: For video podcasts, separate tracks let you switch between full screen, split screen, overlays, and more.
- More accurate transcripts: Clearer audio and speaker differentiation increase the accuracy of transcripts.
- Easier repurposing: With clean tracks, it’s easier to create short clips and highlight reels for social media.
- Smoother balancing and effects: Adjust the volume and apply effects to each track independently for a polished finish.

FAQs about multitrack podcast recording
What is the easiest multitrack recording software?
The easiest multitrack recording software substantially depends on your own experience as a podcaster and what your needs are. If you’re a video podcaster looking to record remotely with guests, it’s easy to record separate video and audio tracks with Riverside. Riverside is designed to deliver professional-quality multitrack recordings - and be easy to use. In fact, it does a lot of the work for you, with AI-powered tools to help you transcribe your content, clean up audio, and create show notes.
What are the disadvantages of multitrack recording?
The disadvantages of multitrack recording largely depend on how you’re doing it. For example, if you’re using an online platform that records locally to each participant's device, you may run into issues with disk space, meaning the recordings won’t be uploaded. If you’re using the double-ender recording technique, it can be a headache to manually sync the separate tracks in post-production.
No matter which method you choose, the advantages of multitrack recording outweigh the disadvantages. With a track for each participant, you’ll have more flexibility when recording and editing, allowing you to produce and edit to a more professional standard.
Can Audacity or GarageBand do multitrack recording?
You need to use an audio interface such as the RØDECaster Pro or Focusrite Scarlett 18i8 and enable multitrack recording in Audacity or GarageBand - they don’t have the capability to record in multitrack on their own.
What is the difference between split track and multitrack?
Multitrack recording means that each speaker or sound source is recorded onto its own separate track. For example, if you have three people on a podcast, you'll get three individual audio files - one per person. This gives you maximum control in post-production, allowing you to adjust volume, remove background noise, or cut mistakes for each person independently.
Split track recording, on the other hand, is a simplified version. It typically records one speaker on the left audio channel and another on the right channel - all in a single stereo audio file. This gives you some editing flexibility, but you’re still limited to just two audio channels (left and right), so it’s only practical for two sources.


-(1).webp)

